2014
If you have ever built a piece of furniture for your home, you know the unparalleled joy it can bring (no matter how fancy or not fancy that piece of furniture is.) Today, Ben Light brings us the simplest of DIY furniture how-tos - How to Build a Simple Scrap Wood End Table. Enjoy!
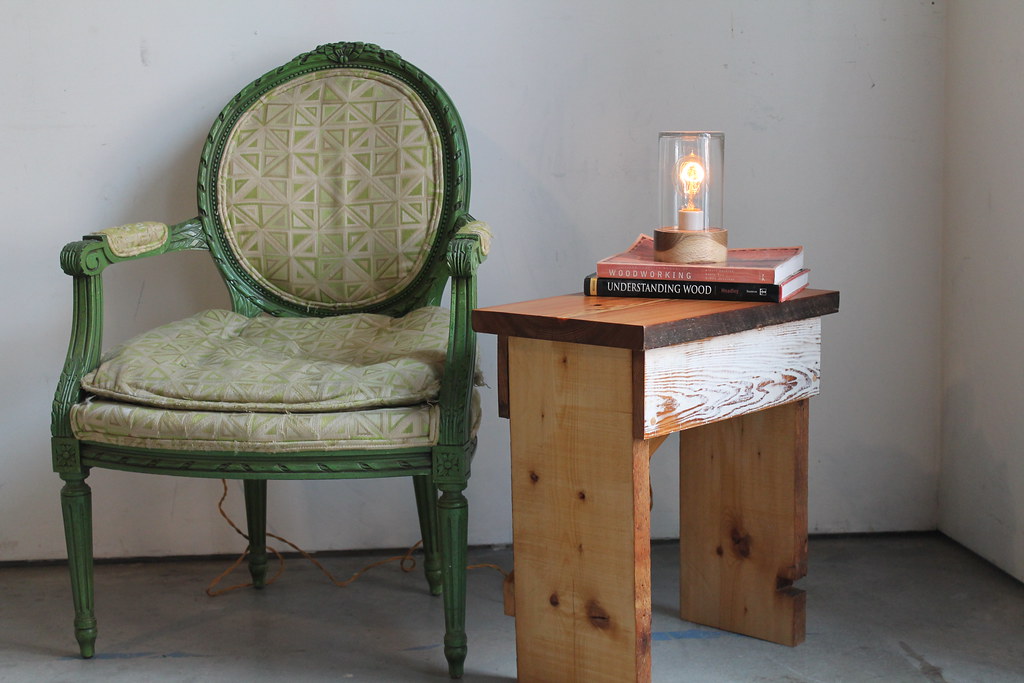
Step 1: Gather Supplies
The idea is to make a table out of whatever you have on hand, so these dimensions are flexible, depending on what you have! If you have a great flat piece of wood that is around 15" x 23", those are perfect dimensions for a standard end table top. Table height can be anywhere from 22" to 30". I had a 50" piece of scrap wood and cut it in half, so the table was roughly 25" tall. The front and back pieces of your table should be the same length as your top, so in this case, 23". The table is made from a flat table surface, two long legs, two cross pieces under the table surface, and one diagonal cross piece (We'll cut this to size at the end).
Step 2: Cut Your Wood
Cut the legs to size. Take special care that they are the same length.
Step 3: Make Your Pocket Holes
Drill 3-5 pocket screw holes in each of the front and back pieces, and two pocket screw holes in the top of each leg. (I explain the usefulness of a pocket screw in the video!)
Step 4: Screw it Together
First, screw the legs in to your tabletop surface. Then, screw the front and back pieces to the table legs. Lay the diagonal cross piece diagonally along the back of the table. Mark off and cut to length. Screw the cross piece into both legs.
Step 5: Sand it Down, Add Your Finish
Sand the table with an orbital sander. Start with 120 grit and work your way up to 220. You can paint, oil, or leave your tables raw.
Originally appeared in the Apartment Therapy blog.