Get Yourself a Branding Iron

February 17th, 2010

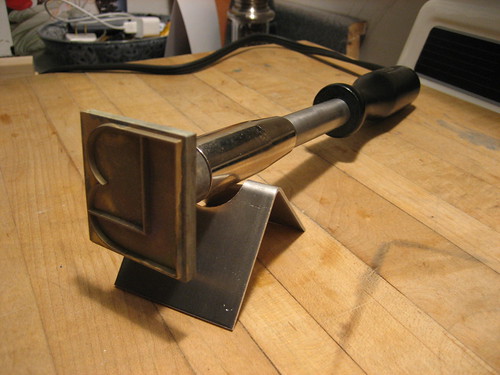
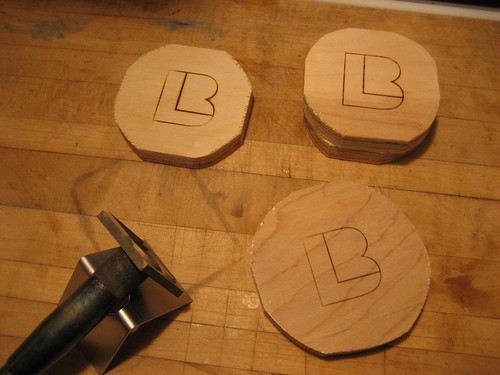
My sisters got me a branding iron for Christmas. They had to order it special, and it took some time to get here. But it just came in the mail the other day.

Branding Iron

This thing is so choice, if you have the means, I highly recommend picking one up.

Branding Iron

A Tree Turns in Brooklyn

February 16th, 2010

A Tree Turns in Brooklyn

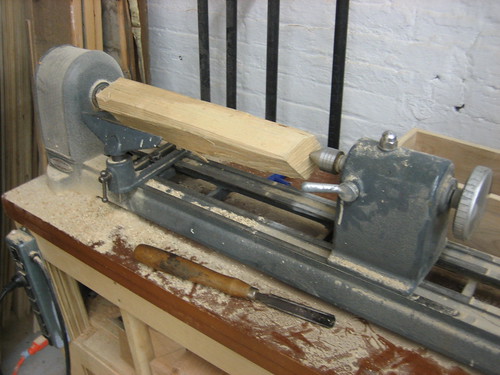
I recently joined the Gowanus Studio Space. Finally a place I can make a big ol’ mess.

Get the flash player here: http://www.adobe.com/flashplayer

There are so many great people/designers/artists/tools at this place. And they have a lathe. Although, it kind of feels like I’m cheating on my wife with my new girlfriend.

Blue Birds

February 8th, 2010

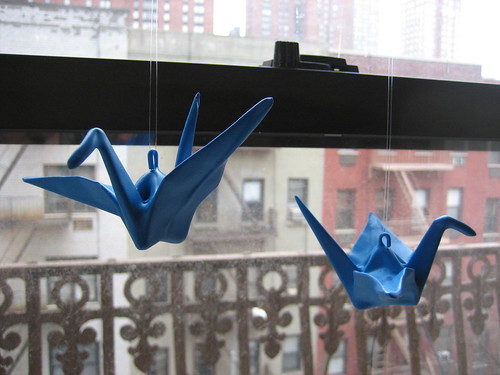
Blue Birds

Stained Glass Marbles

January 31st, 2010

Stained Glass Marbles

Proof of concept to see if traditional stained glass window techniques can be applied to marbles. The plan is to use marbles of various size to create a shade or globe for a lamp. yes, another attempt at a lampshade.

Monster Mirrors

January 31st, 2010

Monster Mirrors

The latest thing I’ve been working on are Monster Mirrors. Monster Mirrors are wooden framed mirrors. When one looks in the mirror, they become the monster’s next meal.

Get the flash player here: http://www.adobe.com/flashplayer

Turned Toys

January 15th, 2010

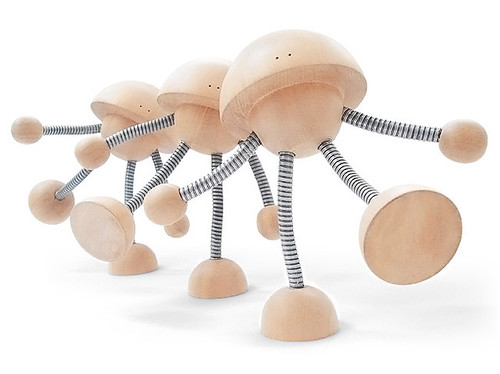
Came across these two great turned toys (thank you minor details). I love how simple they are and yet are pretty expressive. All of the artists are from Argentina, must be something great in the water there. I might have to rip these off.

el Ramon

el Ramon (scroll down) by Javier López Pereyra.

Familia Tipo

Familia Tipo by Gonzalo Arbutti & Marcelo Federico.

Lindsey Adelman Studio, You Make It

January 6th, 2010

If you have never seen Lindsey Adelman Studio’s work, go right now. I’ll wait.

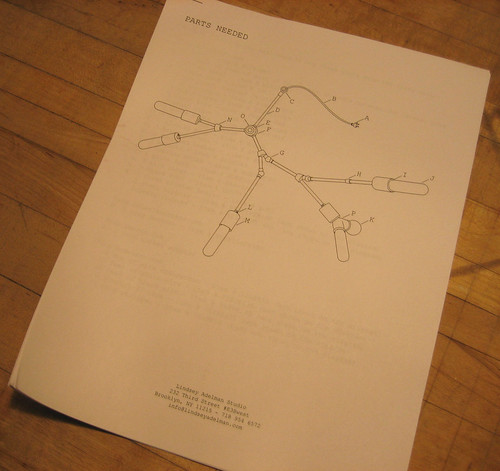
The work they create is fantastic. But they recently released a build it yourself instructional of one of their chandeliers. It has everything, step by step directions, parts list, vendor sources. It’s basically the top secret recipe on how to make one of their wonderful lamps.

Lindsey Adelman Studio You Make It

I think it’s incredibly brave to release something like this (don’t know if I could do it). But I know I can’t wait to make one of these.

A Very Made-y Christmas

January 5th, 2010

It’s that time of year again, like last Christmas (and many many many others), my family made gifts for each other.

I made my sisters Lake Log lamps and bowls, made my mom a big mallet for cooking, made my nephew some wooden toys, and a couple of small chalkboards for the little guy as well.

My sisters made necklaces, plates and coasters out of resin, pillows, and toys. Take a look.

Get the flash player here: http://www.adobe.com/flashplayer

Pics from the DIY Salon at MAD

December 15th, 2009

Last post on the MAD Salon, I promise.

Christina Latimer, a great photographer, was kind enough to share some of the pictures she took at the event.

Get the flash player here: http://www.adobe.com/flashplayer

Thanks Christina. Check out some of her work at bailliwik.

How to Make Star Light Minis

December 14th, 2009

Star Light Mini Template

The DIY Salon at the Museum of Arts and Design (MAD) was fantastic!

So many people showed up ready to make, it was great. And almost everybody who tried the star, stuck it out. Even though it was much more complicated than I originally thought and my directions were sketchy at best.

You can get the star light mini template here (pdf). And the directions to make it below:

This project uses sharp tools and hot glue. Please be careful.

1. Wrap the center of a piece of 22 gauge wire (around 5 - 7 inches long) around a Christmas tree light bulb

2. Place the template over a manila folder and using a nail, punch a hole in each of the dots. Make sure to press hard enough to go through both sides of the folder.

3. Using an exacto knife or scissors, cut out the star and the backing. See the template for details

4. Using a hole punch, punch a hole in the center of the star and the backing.

5. Bend the wire, using needle nose pliers, to match up to the two small holes on the backing

6. Using double sided tape, tape the backing to the star. Make sure to line up the punched holes. Check to see that a Christmas tree light bulb fits in the hole. Put this aside for now.

7. Using an exacto knife, score the outside bends on the folder. See the template for details. (If you are making two stars at the same time, now is a good time to score the outside bends on the second half of the folder.)

8. Open up the folder and score the inside bends. See the template for details. (If you are making two stars at the same time, now is a good time to score the inside bends on the second half of the folder.)

9. Using and exact knife or scissors, cut out the remaining pieces. See the template for details. (If you are making two stars at the same time, use and exacto knife and punch hard to make sure you cut through both sides of the folder.)

10. Break the bends.

11. Using clear tape, tape the two folded pieces together.

12. Using double sided tape, tape the inside of one flap on each of the star points.

13. Attach the taped flaps to the star/backing/wire assembly.

14. Using a hot glue gun, run a small bead of glue on the taped flap (one at a time), and secure the other flap down. Do this for each star point.

Want to thank Jessica, Dess, and Molly for making this happen.